Winter season appears quite unpleasant on the car as many things and systems in your car may get issues. Do you drive a car and find it irritating in winter?
There might be many reasons for being irritating but one of the main issues is a moisture-trapped headlight.
During winter, the moisture level increases in the environment and when you park your car outside, the moisture is trapped in it.
Well, this is not the only way the moisture gets in the headlight, there might be other ways as well.
The moisture-trapped headlight is not only dangerous for the car owner but also for the other people moving on the road.
The moisture in the headlight actually lowers the visibility and makes the vision unclear. In this case, the drivers are unable to see ahead of the road and then the accidents happen.
Apart from the risks of getting into an accident, the moisture in the headlight makes it malfunction and you will have to replace it immediately. Otherwise, the other systems in your car will start breaking down.
You can clean the moisture from the headlight at home like a professional with simple and easy steps.
What will you need to remove moisture from the headlight of your car?
Removing the moisture from your car headlight is not actually rocket science. You can do it yourself at home with an easy and simple guide. Remember that the material you need to do it at home must be of good quality and clean.
Socket and Ratchet
The first thing you need to keep in your toolbox is a socket and a ratchet which are necessary for extracting the screws holding the headlamp assembly in place. To find out the precise screw size, see the owner’s manual for your vehicle. \
A screwdriver might be adequate for older automobile models. Having the proper equipment guarantees that the screws are taken out safely and without causing any damage.
Packs of silica gel
These tiny but powerful packets are great at absorbing moisture and are a cheap way to get rid of condensation from headlights. They are a convenient option for this work because they are frequently found in the packaging of shoes, gadgets, and other products.
Lint-free cloth
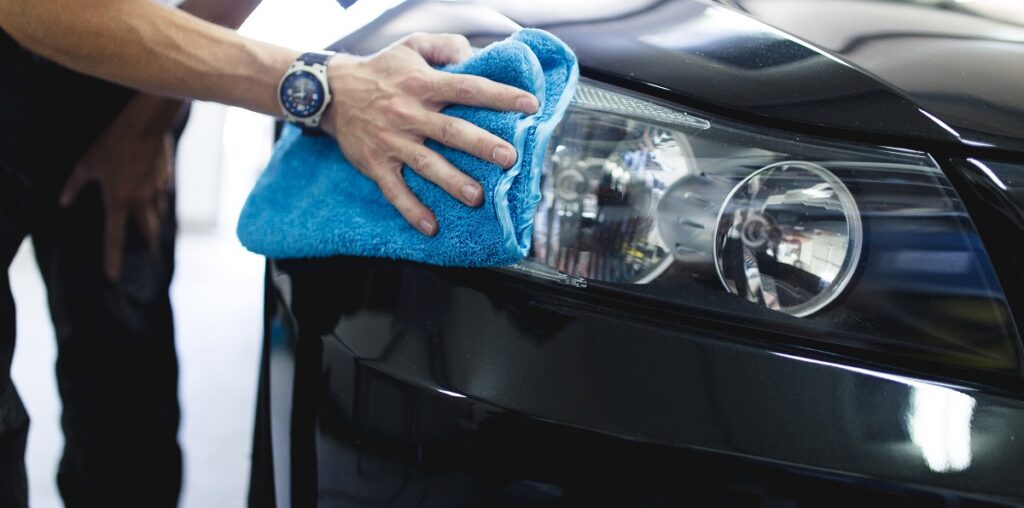
To remove any apparent moisture within the headlight housing, use a gentle, lint-free cloth. Regular towels could damage or leave lint on the headlamp surface, so avoid using them. You can omit this step if there isn’t any moisture present right now.
Hairdryer or Heat Gun (Optional)
These devices can aid in the rapid evaporation of condensation in situations involving substantial or recalcitrant moisture accumulation. To prevent harming the plastic parts, use it in a low-heat setting.
Now learn how to actually remove moisture from the headlight of your car
You can effectively address the issue and get your headlights back to normal operation by following these instructions.
Take off the headlight assembly
To access the interior, the first step is to remove the headlamp assembly. Unscrew the three screws holding the headlamp assembly in place with your socket and ratchet (or a screwdriver for older models).
Gently remove the headlight housing by turning the screws counterclockwise until they are loose.
To prevent breaking the wire that connects the headlights in your Toyota Hilux Champ 4×4, take care when removing the component.
For comprehensive instructions, refer to your car’s manual if you’re unclear about the procedure. It’s important to take your time in order to avoid inadvertently damaging any of the parts of your car.
Remove the wetness
Examine the inside for any obvious moisture after removing the headlight assembly. Wipe away any moisture in the housing and surround the lightbulb with a clean, lint-free cloth.
Particular attention should be paid to the nooks and crannies where water droplets frequently collect.
This step alone may fix the problem if there is little condensation. More steps will be required, though, if the moisture buildup is more persistent.
Drying the headlight’s interior completely guarantees that the
Put the Silica Gel Packs in
Place the silica gel packets within the housing of the headlight after it has dried. By absorbing any remaining moisture, these packets keep the interior dry.
The gel packs should be carefully positioned to avoid blocking light output or obstructing the headlight bulbs even in Thailand used cars. A popular and reasonably priced method for controlling moisture is silica gel.
These packets are available online, in new shoe boxes, and in the packaging of devices.
Replace the silica gel packs on a regular basis for optimal performance, particularly in humid locations where condensation is more prone to recur.
Put the headlight assembly back in
It’s time to put the headlights back together now that the interior is dry and the silica gel is in place. Make sure all wiring connections are tight before repositioning the headlamp housing.
Tighten the screws with the socket and ratchet, turning them clockwise until they are securely fastened.
Make sure your headlights are functioning properly by testing them after replacing the unit.
In addition to guaranteeing that the headlights operate as intended, proper reinstallation keeps moisture or water from reentering the housing.
How can you keep your car’s headlight prevented from trapping moisture
Recurring condensation issues can be significantly reduced with routine maintenance. The headlight housing is a typical place for moisture to enter, so look for any cracks or broken seals.
To maintain the headlights’ effective sealing, replace or repair broken parts as soon as possible.
You can quickly remove moisture from your car’s headlights and get them working again by following these easy steps. This will prolong the life of your headlights in addition to increasing visibility and road safety.
With all these things in mind, you can simply remove the moisture from the headlight and keep it safe from the issue in the future. Make sure you are taking good care of your car and its components, especially in the winter.
If you are aware of the tips and tricks of managing and maintaining the car components, you can save a lot of money to spend at the service centre and the in expensive repairs.