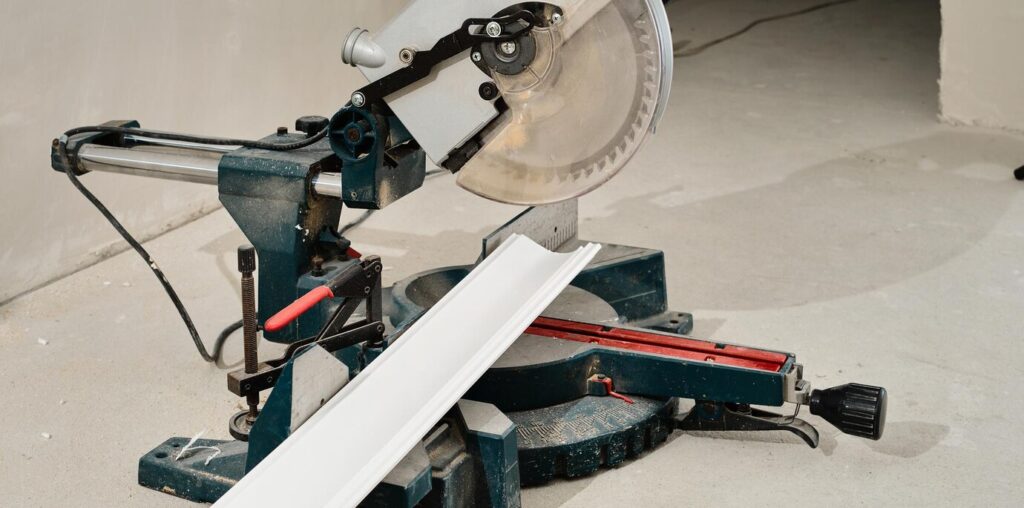
Using a tile cutter can be intimidating for beginners, but with the right technique and tools, you can achieve precise cuts and professional results. Whether you’re working on a DIY home improvement project or a professional tiling job, mastering the use of a tile cutter is essential. In this guide, we’ll take you through a step-by-step process to ensure clean and accurate tile cuts every time.
Step 1: Gather Your Tools and Materials
Before you begin, make sure you have the necessary tools and materials:
- Manual or electric tile cutter
- Tiles
- Pencil and ruler (for marking measurements)
- Safety goggles and gloves
- Measuring tape
- Tile nippers (for intricate cuts)
- Sandpaper or rubbing stone (for smoothing edges)
Step 2: Measure and Mark the Tile
Accurate measurements are key to a perfect cut. Use measuring tape and a pencil to mark the cutting line on the tile. A ruler or straight edge can help you ensure the line is straight and precise.
Step 3: Position the Tile in the Cutter
For manual tile cutters:
- Place the tile on the cutter’s base, aligning the marked cutting line with the cutter’s guide.
- Ensure the tile is positioned securely to prevent movement during cutting.
For electric tile cutters:
- Place the tile against the guide fence.
- Ensure the water reservoir (if applicable) is filled to prevent dust and overheating.
Step 4: Score the Tile
If using a manual tile cutter:
- Firmly press down on the scoring wheel and run it along the marked line in one smooth motion.
- Apply consistent pressure to create a visible but shallow groove.
If using an electric tile cutter:
- Turn on the machine and gently guide the tile along the blade.
- Move at a steady pace to avoid chipping.
Step 5: Snap or Cut the Tile
For a manual tile cutter:
- Apply gentle downward pressure using the cutter’s handle to snap the tile along the scored line.
- The tile should break cleanly if scored correctly.
For an electric tile cutter:
- Continue guiding the tile through the blade for a complete cut.
- Allow the cutter to do the work—avoid forcing the tile.
Step 6: Smooth the Edges
After cutting, use sandpaper or a rubbing stone to smooth any rough edges. This step is crucial for achieving a polished, professional finish.
Pro Tips for Perfect Tile Cutting
- Use a high-quality tile cutter to ensure smooth and precise cuts.
- Practice on spare tiles before working on your main project.
- Score only once with a manual cutter to avoid uneven breaks.
- Ensure proper support for the tile when cutting to prevent chipping.
- Use water when cutting with an electric cutter to reduce heat and dust.
Conclusion
Mastering the use of a tile cutter machine takes practice, but by following these steps, you can achieve professional-quality cuts with ease. Whether you’re tiling a bathroom, kitchen, or any other space, precision and patience will lead to the best results.


