Beautiful, polished hardwood floors can do wonders for the aesthetics of a home. Then again, maintaining the shine and luster of wooden floors is no easy feat. All hardwood surfaces need regular sanding and polishing to ensure they look their best.
Have no fear! This topic will guide you through five simple steps of floor polishing in Sherman Oaks. If you follow every step to the letter, you will achieve a beautiful wood floor after sanding and polishing.
The Purpose
So, why do you need to undertake a floor polishing project in Sherman Oaks? Sanding removes the top surface that might have been damaged or worn out. Polishing gives it a shiny finish. The whole process may seem daunting at first, but with the right tools and steps, you can bestow new life upon your hardwood floors and bring back their original luster.
Step 1 – Preparation
Before you begin, prepare the area you will be working on. This includes removing all rugs and furniture for cleaning the floor.
Clear the Space
Remove all furniture from the room to ensure you have an open area to work in without any obstructions. Items that are too heavy to move can be covered with a drop cloth.
Clean the Floor
Use a vacuum cleaner or soft broom to remove any dust, dirt, or debris from the floor. Any particles left behind will cause scratches during the sanding process. Don’t forget to check for any nails or screws that might be sticking out.
Step 2 – Choosing Equipment for Sanding
The choice of the sanding machine depends on the size and condition of the floor. Drum sanders are powerful. They are great for large areas and floors in poor conditions. Orbital sanders are less aggressive and better for small spaces or floors in relatively good condition.
Renting Vs. Buying
Unless you have plans to do frequent sanding, renting a sanding machine is more cost-effective than buying one.
Step 3 – The Technique of Sanding
Sanding is a time-consuming, methodical process. So, avoid rushing it. Start with coarse-grit sandpaper to remove the old finish and scratches. Then, gradually work your way to a finer grit to smooth the surface.
Sanding Direction
Always sand along the grain of the wood instead of against it. This will reduce all possibilities of damaging the floors, resulting in a smoother finish.
Multiple Passes
Make multiple passes with the sanding machine. Start with a coarse grit, such as 40-grit sandpaper, for the initial pass. Then, shift to medium grit, like 80-grit, for the second pass. Finally, make a third pass with fine grit, such as 120-grit sandpaper, to smooth out the floor.
Step 4 – Cleaning Up & Preparation
After sanding, the floor will be covered in dust. Clean it up before you attempt to do floor polishing in Sherman Oaks. Any remaining dust can ruin the finish.
Thorough Vacuuming
Use a vacuum cleaner to remove most of the dust. Then, wipe the surface with a damp cloth or mop to pick up any remaining particles.
Let the Floor Dry
Before you move on to floor polishing in Sherman Oaks, let the floor dry completely. If the surface is damp, the polish will form bubbles and will not adhere properly.
Step 5 – Polishing
Polishing the floor gives it a glossy, protective finish that enhances its natural beauty. It is the last step of the restoration project and also the element that gives your floors the “wow” factor.
Select the Polish
There are several types of floor polish available on the market. Some are specifically designed for certain types of wood. Therefore, make sure you pick the right product for your floors.
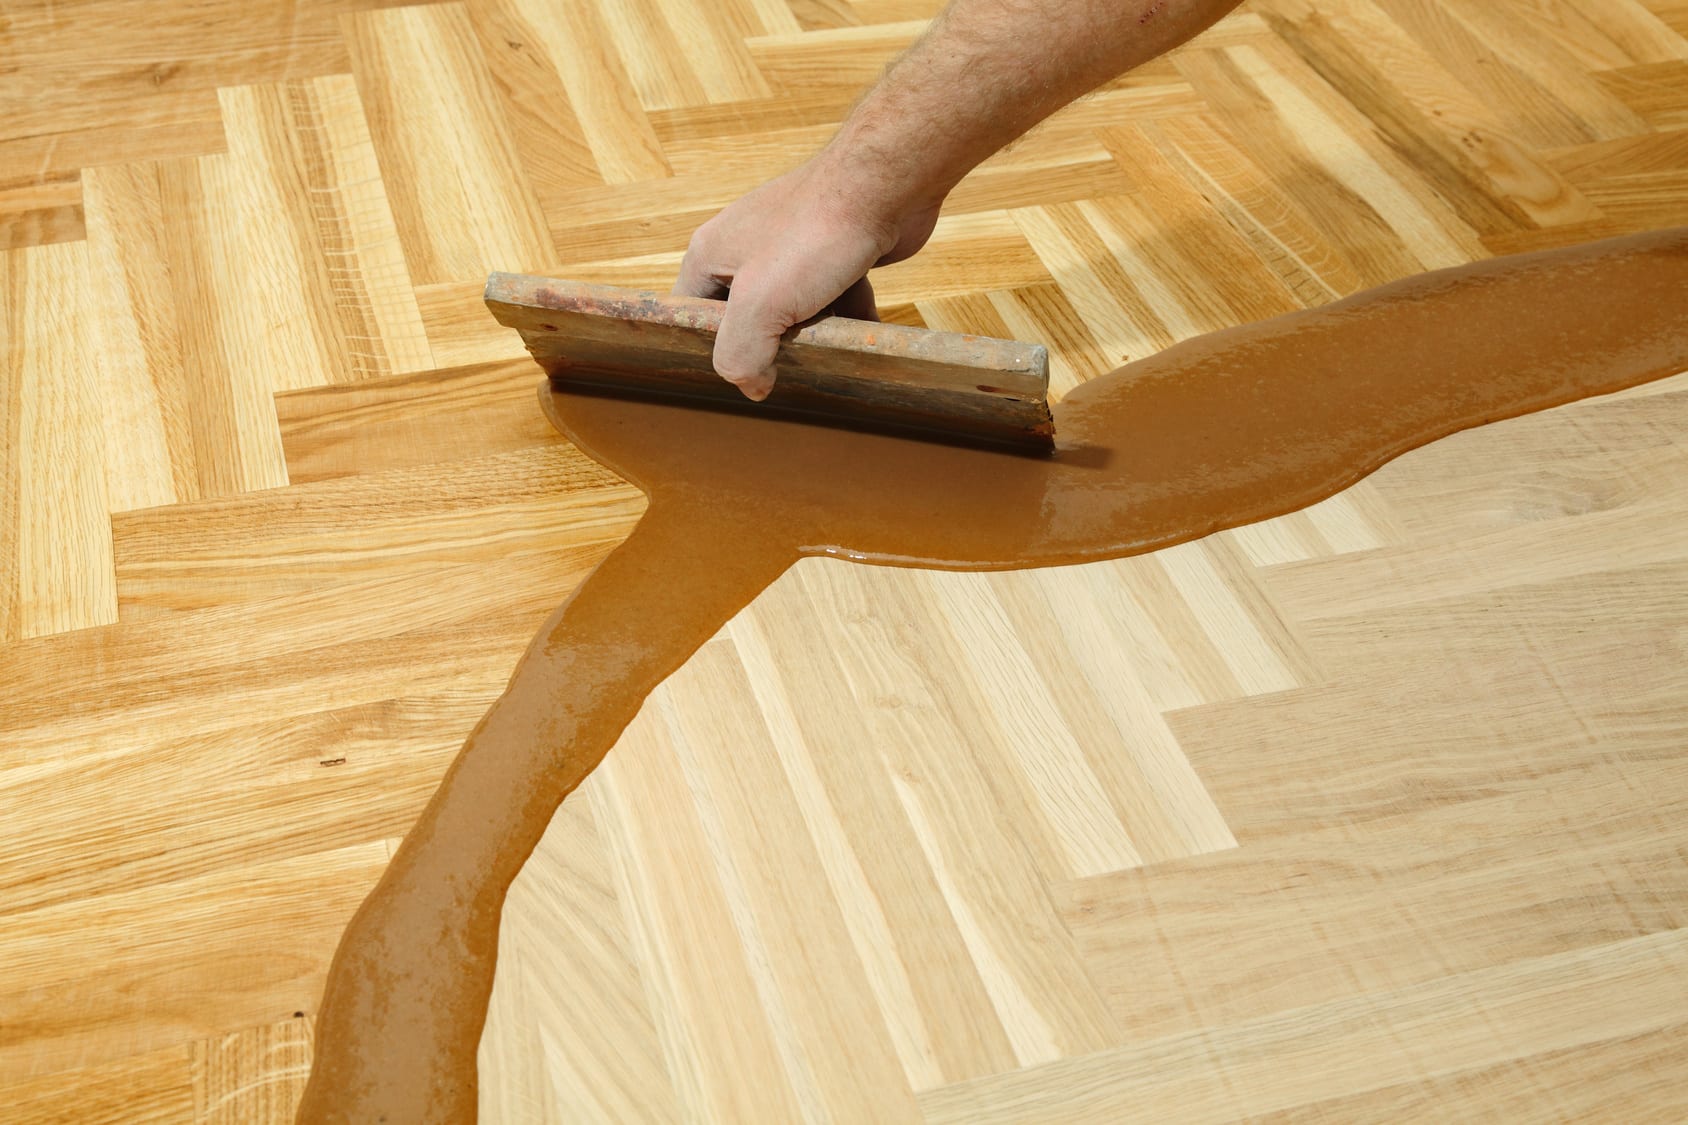
Apply the Polish
A floor buffer or polish applicator will help you apply the polish thinly and evenly. Start from one corner of the room and work your way towards the exit so you don’t walk on the freshly polished surface.
Let it Dry
The polish needs at least 24 hours to dry before the floors become usable. During this time, it will harden and provide a durable finish.
Wrapping it Up
Sanding and polishing might require effort, but the results are worth it. The floors will look shiny and new, adding beauty and value to the home. With the right equipment and these simple steps, you can take wood floors from dull and lifeless to stunning and vibrant.